I help musicians create professional-sounding tracks at home without breaking the bank.

I’ve just put the finishing touches on the Home Studio Accelerator, a FREE 14-lesson course designed to teach musicians like you how to pick out the right gear and software and set up a professional recording environment at home.
So you’re ready to start recording music at home, but you don’t quite know where to begin. You’ve browsed the forums and scrolled the Facebook groups, but you still have questions or doubts about what you actually need to buy and how to put it all together. Believe me, I understand.
About a decade ago, despite having a degree in production and years of experience in professional recording studios, I struggled to set up my home studio. Though schools and studio engineers do a great job of showing you how to use world-class equipment, that education doesn’t typically extend to how to set up a home studio on a shoestring budget. After a lot of blood, sweat, and tears, I’ve learned what works at home – and what doesn’t. My goal is to help people get past the barriers to entry in this fun and rewarding hobby and start making professional-sounding recordings at home.
Today we’re going to walk step-by-step through the process of setting up your personal home studio. We’re going to learn what equipment you actually need, and how to hook it all up to turn your space into a real recording studio capable of turning your musical dreams into reality. Ready to get started? Let’s go!
What Equipment Do I Actually Need?
This isn’t the only article like this out there on the internet. So what’s different about mine? Well, for starters, I’m not just going to list out a bunch of gear and act like studios are one-size-fits-all. I’m going to help you figure out what you actually need for your particular situation. (No, I wouldn’t consider ‘ear training’ an essential home studio purchase.)
Recording Chain
No matter what you’re recording, you’re going to need way to record it. A computer, Digital Audio Workstation (DAW) software, and an audio interface are what are used in modern recording studios. Everything else depends solely on what kind of music you’re making and what sources you need to record. In addition to the basic computer/DAW/interface setup, most musicians will also need one or more microphones for recording vocals and/or instruments. Let’s check out these more essential items first:

Computer
There are two practical routes you can go for home recording: either a computer with audio interface and DAW software, or a standalone multi-track recorder. Though there are still some folks who choose to use a recorder, most home studios use computers with interfaces and software to get the job done. A computer setup provides far easier editing capabilities, virtually limitless options for adding effects using software plugins, and the ability to properly mix and master your songs at home without hiring an engineer. It’s completely up to you which route you choose, but I strongly encourage you to go with a computer. (For the rest of this article, I’ll assume you made the right choice.)
Your home studio computer is like the brain of your studio, and performs two simple yet essential functions:
- Recording signals from your audio interface
- Real-time processing and playback of recorded audio using software and plugins
The recording part isn’t all that taxing, but the real-time processing can be incredibly demanding. Your computer needs to be powerful enough to process dozens of tracks at the same time, so just any computer doesn’t fit the bill. The good news is that there are many affordable options to help you get started, and you may even be able to use or upgrade a computer you already own.
For a more in-depth discussion on what you need, I have an article that goes into far more detail, including what makes a computer a good choice for your home recording studio, what specific components you should look for, the pros and cons of desktops vs. laptops, resources for building your own computer, plus several examples of good home studio computers you can buy off the shelf. Check out the article here:
Digital Audio Workstation
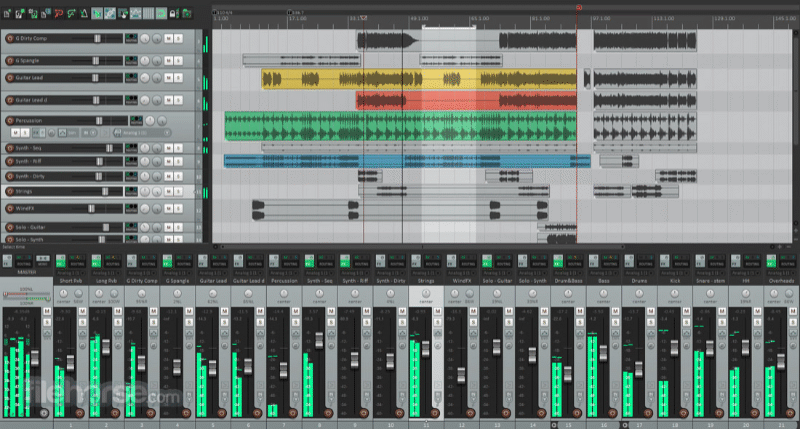
No, you won’t be using 25 copies of Windows Sound Recorder to create your songs. (Though that would be a fun experiment…) Your computer runs a special piece of software designed specifically for creating music called a Digital Audio Workstation, or DAW for short. Your DAW software provides an interface for recording, playback, processing, and editing multiple audio signals simultaneously.
I’m not going to sugar coat this for you: your DAW could be the most complicated piece of software you ever learn how to use. Though great advancements have been made in their overall usability over the years, DAWs have hundreds if not thousands of functions, which can be a little intimidating when you’re first learning. That is why it’s important to take into account how you’re going to learn the software when choosing the right DAW for your studio.
To that end, I’ve written an article that details the various considerations when choosing a DAW. You’ll learn more about what a DAW does, what features to look for, how those features apply to your particular musical genre, what how-to resources are available for learning, what you get for your dollar, and more. Then, I go over the features and pricing of all of the most popular DAWs, like Pro Tools, Logic, Studio One, Ableton Live, Reaper, and more, to help you decide which ones to try out. DAWs are a personal thing, so you’ll want to demo several before you make your choice. Get all the details here:
Audio Interface
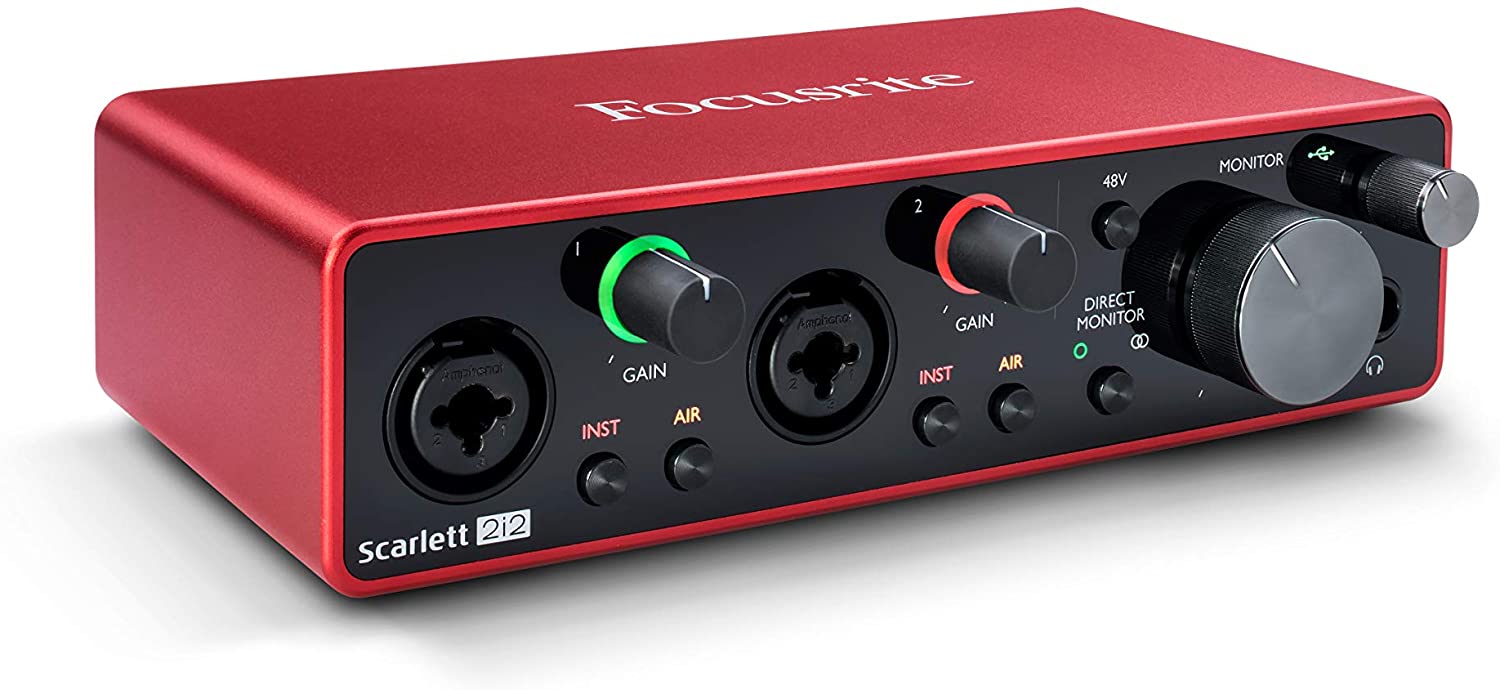
If your computer is the brain of your home studio, you can think of the audio interface like the body, or more specifically, the torso. Your interface hooks up to your computer, then every other piece of equipment in your studio is connected to one or the other. Your microphones, instruments, headphones, and studio monitors all connect to the audio interface directly for passing signals to and from your computer in real time.
Audio interfaces come in many sizes and configurations. There are simple audio interfaces that only process one stereo signal in and out, and others that can process dozens simultaneously. Some interfaces use a special audio chip to work in tandem with your computer and help with effects processing, taking some of the workload off your computer.
There’s a lot of variables involved in choosing an audio interface, so I’ve written a comprehensive article all about them. You’ll learn about the different connections between the computer and your audio gear, what preamps and inserts are, common buttons and features on audio interfaces, and a huge list of audio interfaces in price ranges between under $100 to over $1000 that I can recommend. Read the full article here:
Microphones
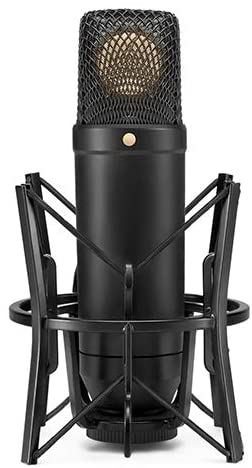
Now that we have a functioning home recording setup, it’s time to get some sounds in the box, and that’s where microphones come in. If you’re recording any live instrumentation or want to record vocals, you’ll need mics, and the type of mics that you will need are going to depend largely on what you’re recording. There are three basic types of microphone:
- Condenser
- Dynamic
- Ribbon
Each microphone type is capable of recording any source you point it at, but some are better suited than others. A condenser microphone, for example, is great for catching subtleties in acoustic guitars and delicate vocals, whereas a dynamic microphone is better suited for direct-miking loud sources like guitar cabs and drums. To help you learn more about the different microphone types and figure out what the best options are for microphones in your particular use case and budget, here’s an article I wrote all about how to choose the right mics for your home studio:
Playback Devices
All the equipment we’ve discussed so far is used to record sounds. Now, we’ll explore how to get your sounds out. You’ll need either headphones or studio monitor speakers, and in most cases you’ll probably want both. Also, since most of the essential equipment doesn’t usually come with cables, we’ll take a look at home studio accessories as well.
Headphones
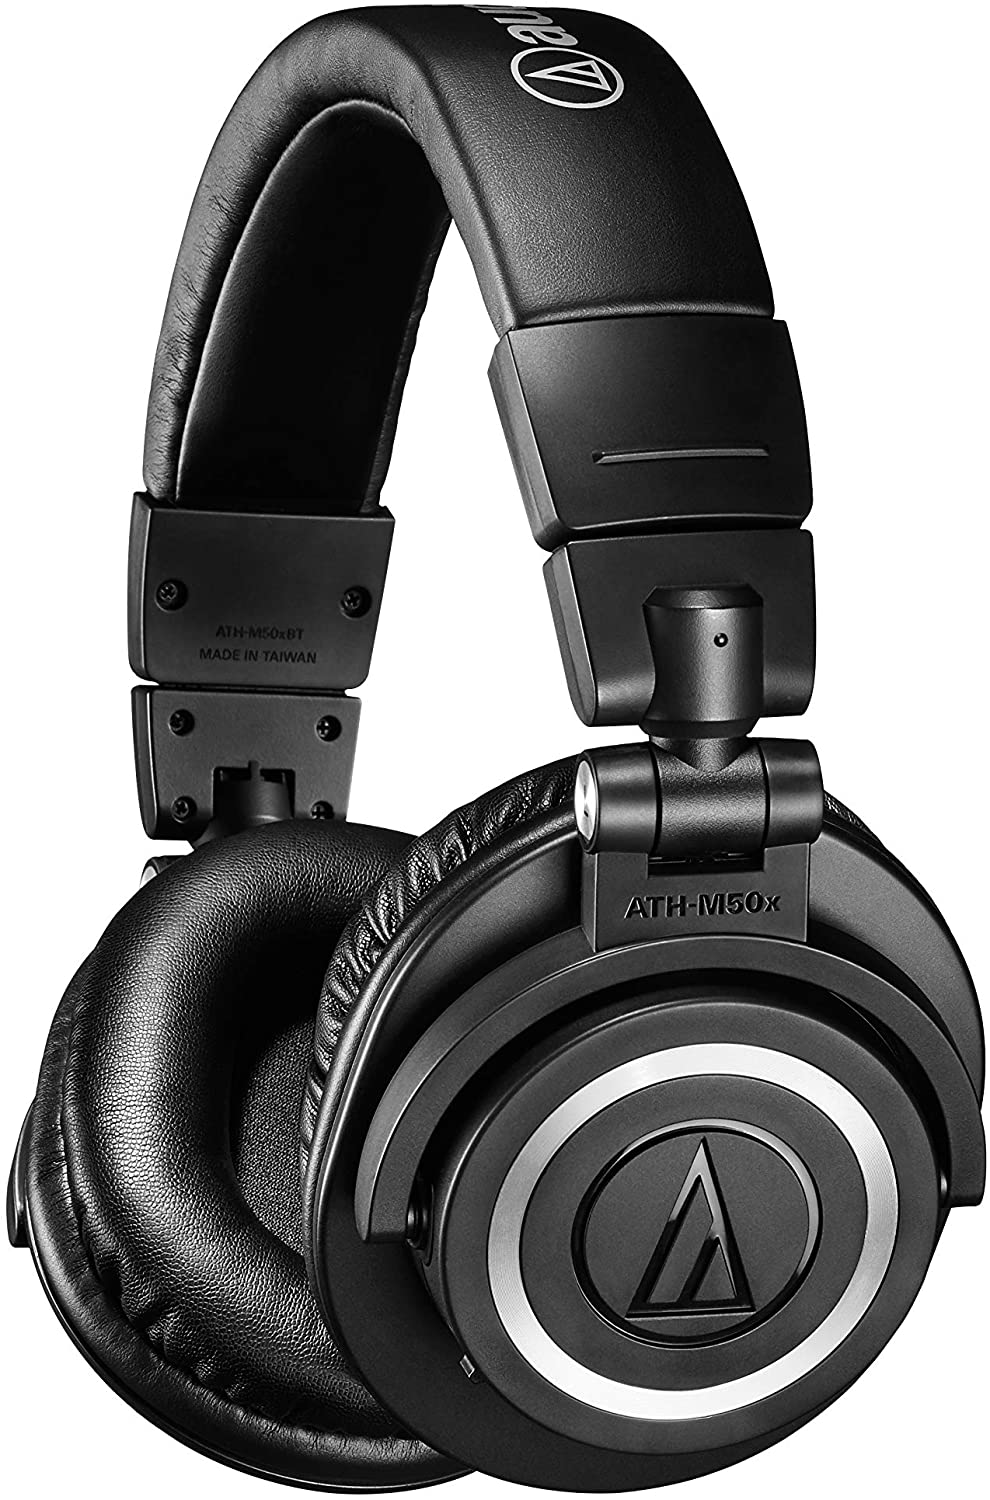
If you’re using mics, a pair of headphones is required for tracking. You can’t use monitors and mics at the same time, or they’ll feed back onto your tracks. Headphones are also essential for recording because they allow you to hear the other tracks and keep accurate tempo for your performance. If you don’t have the budget for fancy new headphones, you can probably start off with a pair of headphones you already own, then upgrade to a quality pair of studio-grade headphones when you’re ready. I’ve written an extensive guide on what to look for in studio headphones and listed some of the best options here:
Studio Monitors
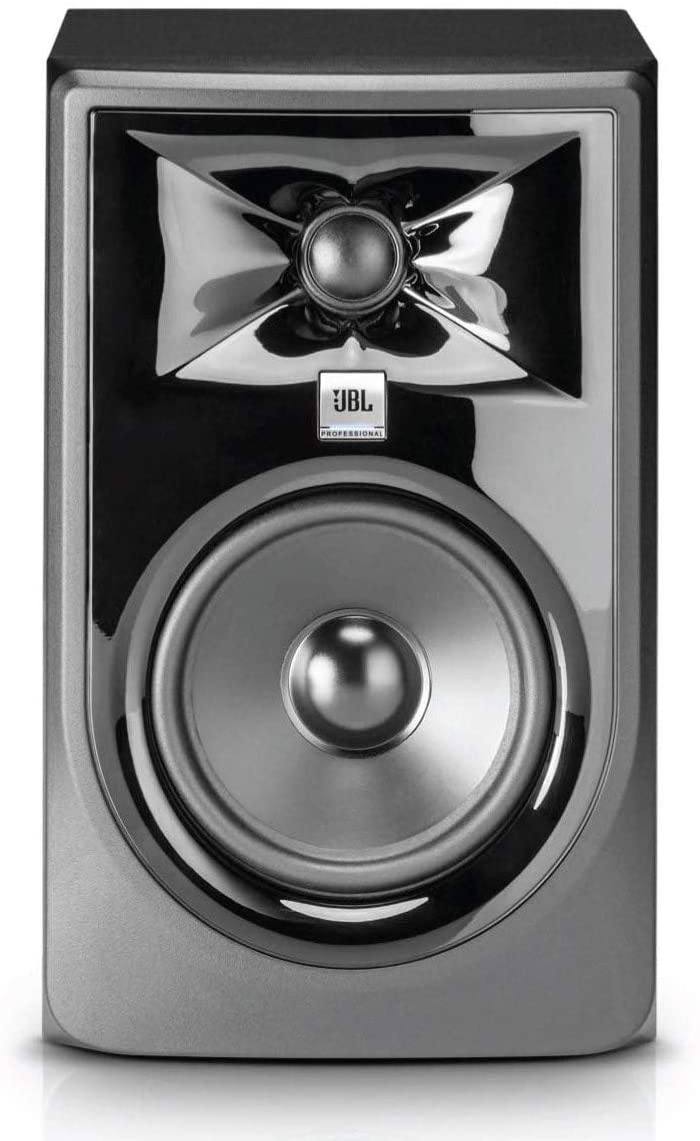
If you’re going to be mixing and mastering at home, you’ll want a pair of studio monitors. Studio monitors are specialized speakers that produce an extremely flat and accurate frequency response that allow you to hear things in your tracks that you may not otherwise hear. Instead of being blasted by the intentionally hyped bass and high-end response of a pair of consumer-grade stereo speakers, you’ll hear the sound quality that is actually on your track – good or bad. This allows you to make more accurate adjustments to levels, equalization, stereo field, and numerous other aspects of your mixes and masters.
The only situations I can think of where you wouldn’t want a pair of monitors speakers are if you can’t afford a good pair yet, or if you’re severely limited as to how much noise you can make where you live. In those cases, you’d definitely want to invest in a good pair of higher-end headphones just for that purpose. Here is an article that goes into great detail about the features you should look for when shopping for studio monitor speakers and a ton of solid options to choose from:
Home Studio Accessories
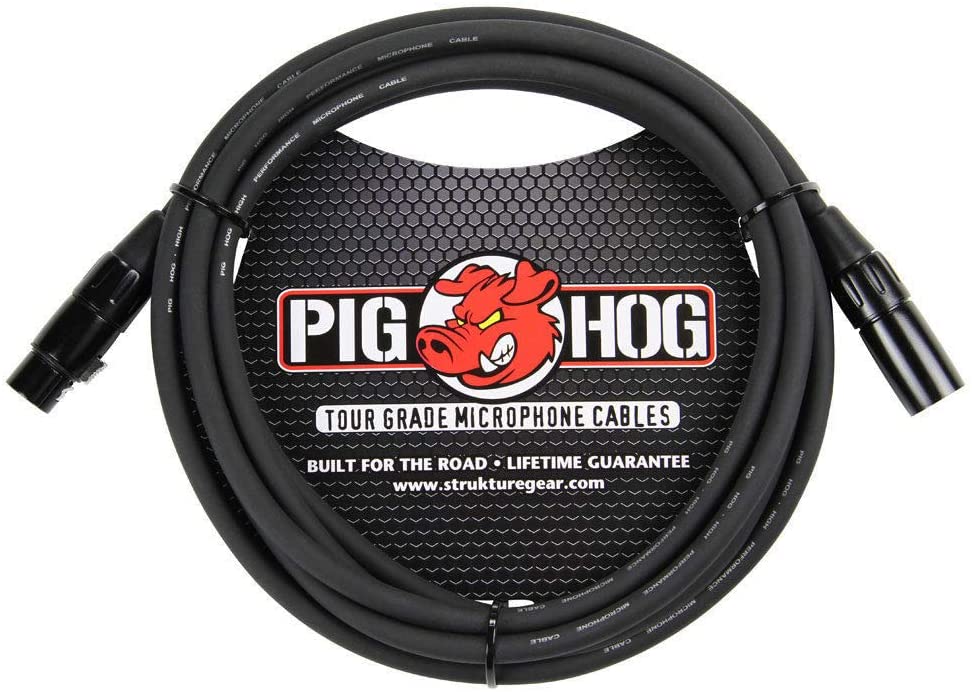
Computers usually ship with everything you need to get started, but audio interfaces, microphones, studio monitors, and other sound equipment typically don’t come with signal cables in the box. Therefore, you’ll need a mic cable and stand for every mic that you want to record at the same time, as well as cables for your monitors. For vocals, you’ll definitely want a pop filter as well. If you don’t have anywhere to set up your home recording studio equipment, you’ll also want to consider specialized studio desks, as well as monitor stands and acoustic isolation pads.
Some items I mentioned are absolutely essential, while others are optional depending on your use case. I’ve written a detailed article outlining the main accessories to consider for your home studio and some preferred options. Check it out here:
MIDI Devices
That’s it for the “must haves.” Now we’re stepping into the “nice to have” categories, starting with MIDI devices. MIDI has become an extremely popular alternative to recording live instruments in numerous genres, and is nearly indispensable in modern pop and hip-hop. But what is MIDI?
MIDI is short for Musical Instrument Digital Interface, and it works by taking analog input and turning it into a digital representation of the performance. Note that only your performance is captured by MIDI, not sounds. Used in tandem with DAWs and Virtual Instruments, that performance data is turned into sound by your computer software. Can you live without MIDI? Yes, you can manually draw in performances note-by-note on your tracks, but MIDI controllers make that process a lot easier.
For example, if you play a chord on a MIDI keyboard, signals that represent the three constituent notes, as well as exactly when and how hard you pressed them, are transmitted to the computer. Then, your virtual instrument software plays back the chord exactly the way you did. This is “recorded” into a MIDI file, which is basically just a list of all the buttons you pressed at which times and how hard. Once a MIDI file is recorded, it can be edited for timing, velocity, or pitch, and whole performances can be transposed into different keys. You can also use functions in your DAW like quantize, which helps line up your performance with the beat, or even intentionally shift the performance slightly out of time, which is called humanizing.
MIDI technology is found in the vast majority of modern recording studio equipment, including most interfaces. The three most common tyes of external MIDI equipment are MIDI keyboards, MIDI drum pads, and MIDI control surfaces. Let’s check them out:

MIDI Keyboards
Though not essential in the strictest sense, MIDI keyboards are easily the most popular external MIDI device and you’d be hard-pressed not to find one in most home studios. They come in many sizes and configurations, withas few as 25 miniature keys up to a complete set of 88 full-sized keys. Many MIDI keyboards also include drum pads for laying down rhythm instruments, or faders, knobs, and buttons for controlling functions in your DAW.
I’ve created a comprehensive article on MIDI keyboards that covers all the common features, software bundles, and a list of recommendations in different price ranges. Check it out here:
MIDI Drum Pads
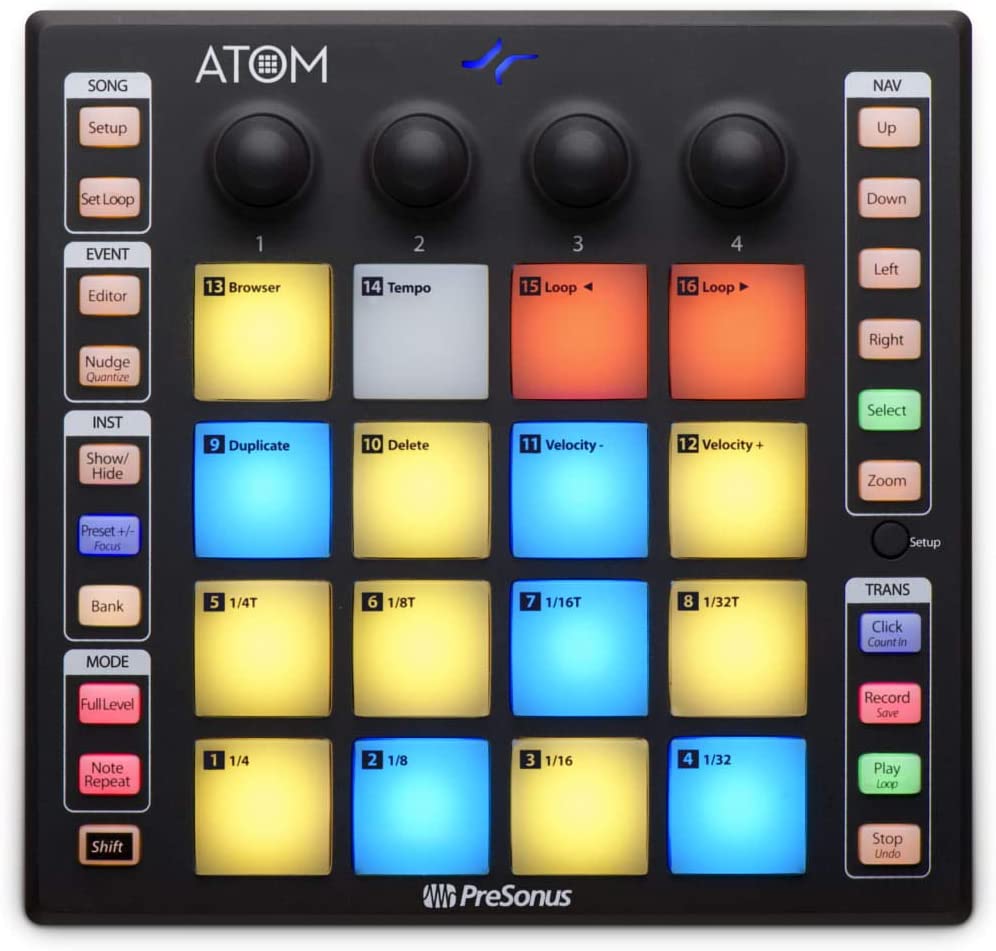
MIDI drum pads are velocity-sensitive MIDI triggers with a springy feel designed to emulate the responsiveness of a set of drum heads in a very small footprint. Though they are great for other styles of music as well, MIDI drum pads are nearly indispensable for hip-hop or EDM. If you’re in those genres, you’re probably already familiar with some of the more popular MIDI drum pad brands. Most MIDI drum pad controllers come with 16 pads, though there are a few with as many as 64. Higher-end pads usually come with robust software packages
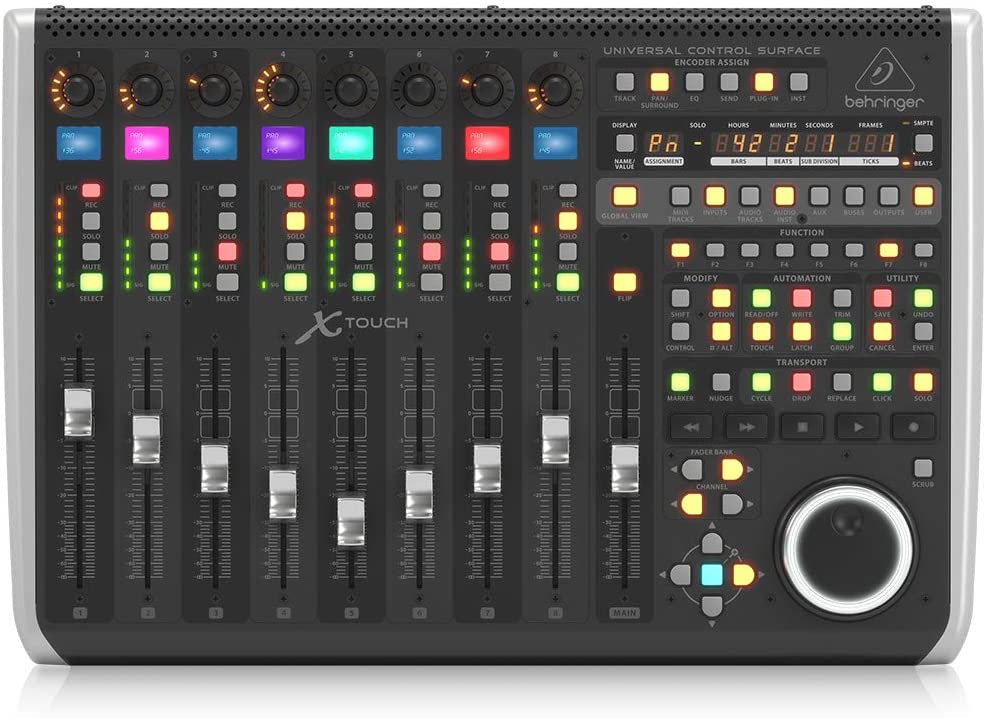
MIDI Control Surfaces
If you’re working by yourself in your home studio, as many of us are, you’ll probably find it tedious to be constantly juggling roles between audio engineer and musician. That’s where MIDI control surfaces come in handy. Control surfaces emulate the look and feel of a studio console in a MIDI controller, allowing you to simply press record or tap a footswitch instead of grabbing your mouse and navigating to your DAW’s transport controls. They are also invaluable in the editing and mixing processes, saving dozens of clicks and drags and providing a tactile interface for dialing in the perfect settings.
If you have no idea where to start when looking for an industry-standard MIDI control surface, here’s an article I wrote that goes over all the common features and lists some of the best devices on the market:
Acoustic Treatment and Calibration
Last but definitely not least are acoustic treatment and calibration software. I don’t want to list these items as strict essentials, because it is possible to record without them. That said, once you have everything else that you need on this list, these should definitely be the next thing you invest in. Proper treatment panels can take less-than-ideal environments and turn them into professional recording spaces, while calibration ensures a flat frequency response for accurate mixing and mastering in a properly treated room. These two items are what really turn a spare bedroom into a home studio.
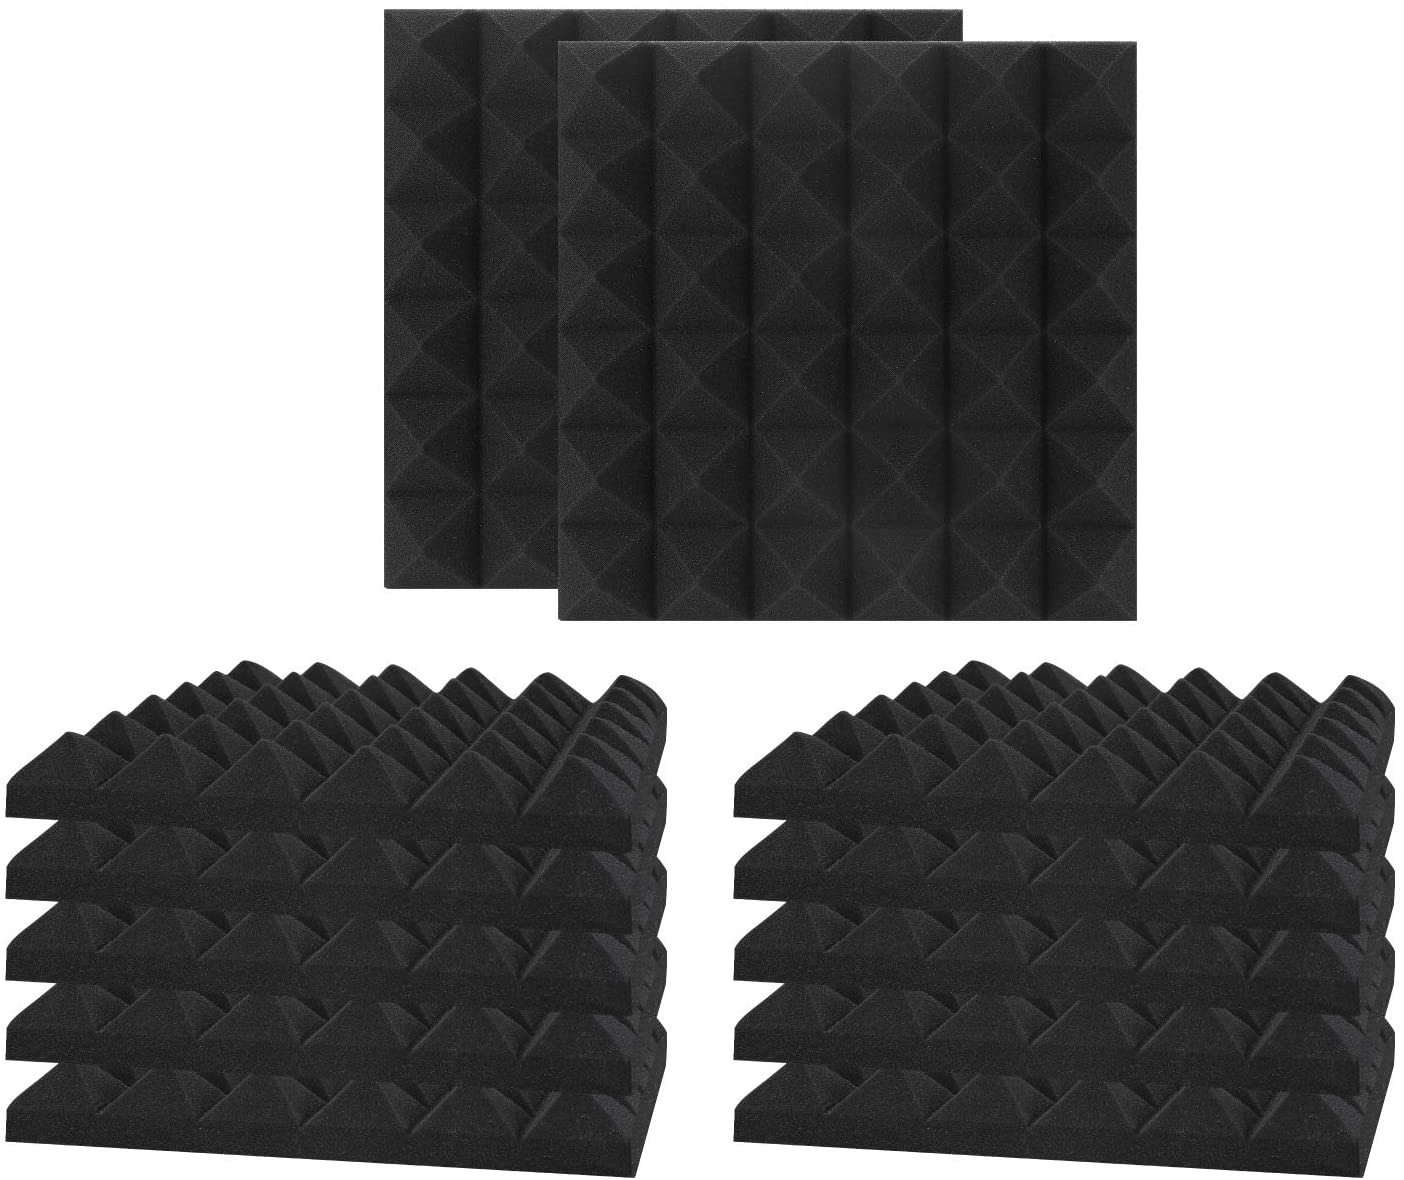
Acoustic Treatments
Nothing has made a bigger difference in the quality of my recordings than adding acoustic treatment panels and bass traps to my home studio. Before I treated my space, it was practically impossible for me to capture a quality acoustic guitar recording due to high-frequency echo. Taming those sound waves in my recording studio has also made my vocals sound far better, as I no longer have to close-mic, over-compress and noise gate my recordings to keep out the unpleasant room reverb. As I stated above, treatment isn’t strictly essential, but I will never record without ever again.
If you don’t really understand what treatment is, how it works, the difference between treatment and soundproofing, the most popular kinds of treatment, or how much you’ll need, you’re in luck. I’ve broken down everything you need to know about acoustic treatment as well as the best places to buy it in this article:
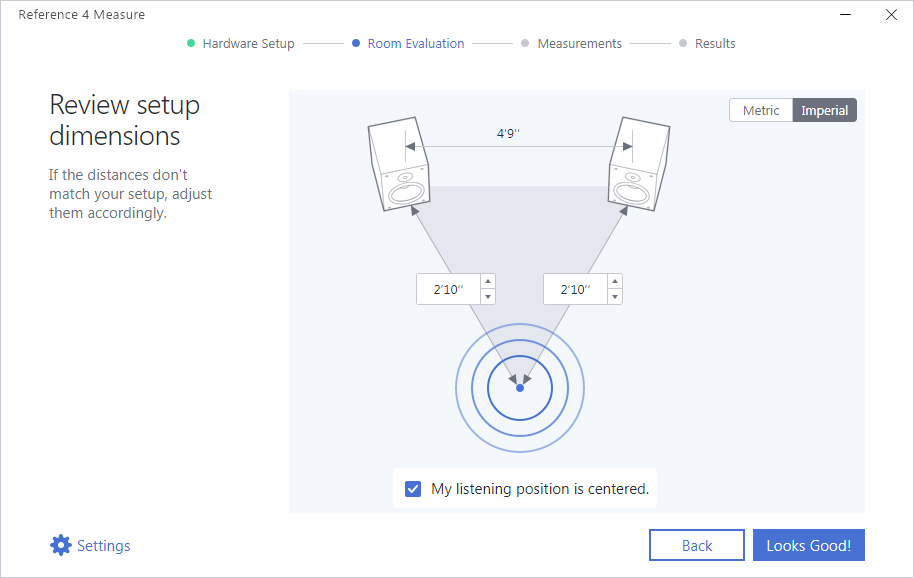
Calibration
Though also not absolutely essential for home recording, If you plan on mixing and mastering your own tracks at home I strongly recommend that you look into calibration. The difference between my mixes before and after I started using calibration software is night and day. Even with expensive studio monitors and proper acoustic treatment, my listening environment was far from perfectly flat. Adding calibration cut and boosted the right frequency ranges to give me a flatter response, allowing me to hear things in my mixes that I couldn’t hear before and to make more precise adjustments. Calibration software also works on headphones, so even if you’re starting off with only phones you’ll still want to look into calibration.
In this step-by-step guide, I walk you through how to use the most popular calibration software, Sonarworks Reference Studio, to calibrate your speakers, and discuss in greater detail why you should consider calibration software for your home studio:
How To Hook Everything Up
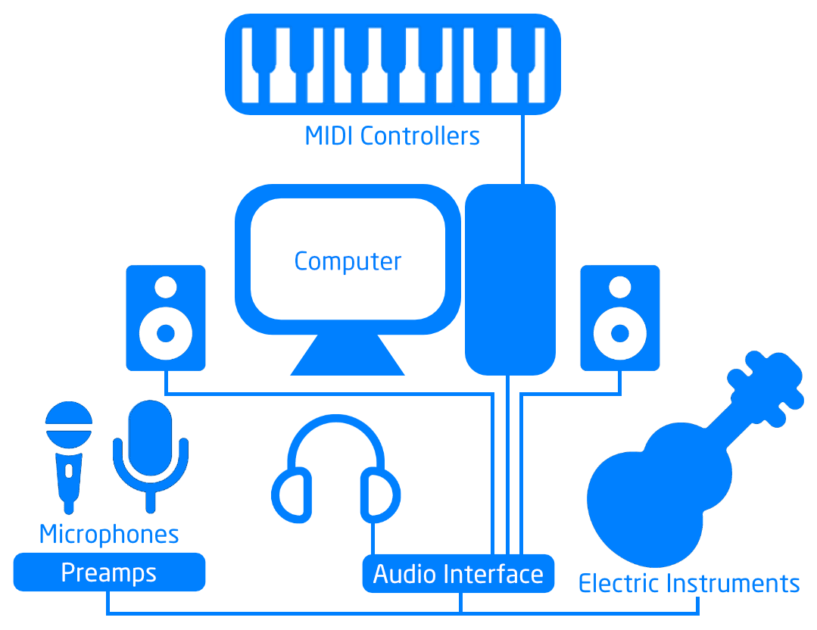
Once you have all of your equipment, it can be awfully confusing when you try to hook everything together. I created the diagram above as a rough sketch to help you understand what plugs in where. Let’s take a look in more detail:
Setting Up Your Computer
You’ll need a desk, table, or other flat surface to set everything up on. Something to keep in mind as you go is that your desktop real estate will become increasingly important as you add more and more gear, so here’s a few tips for setting up your computer:
- Your audio interface and most MIDI devices will hook up to your computer. Everything else, including your headphones and studio monitros, will connect to your audio interface.
- Set your computer monitor up as far back as it can go on your desk to leave room for MIDI devices, studio monitors, and other equipment you might want on your desktop. Consider adding studio monitor stands or computer monitor mounts to help save space.
- Place your computer under the desk, preferably on a computer shelf off the ground. This will save desktop space and isolate the fans away from where you’re recording, which will cut down on extraneous computer fan noise.
- Consider wireless mice and keyboards to reduce the number of cords.
- Nearly everything that plugs into your computer will do so via USB, so think ahead to how many USB ports you have and get additional hubs if needed. Also, consider at how long the USB cables and get additional extension cables as needed.
Installing Your DAW Software
The actual installation of DAW software is fairly simple, but there are a few tricks that I’ve learned over the years that will help you immensely:
- I’ve found it best to install the DAW software and any plugins on the system drive, as they tend to have a smaller footprint, then install any sample packs and software suites on a secondary storage drive. I also recommend saving your projects to a secondary drive as well.
- Take the time to go through the setup options when you first install your DAW. Make sure it detects your interface and MIDI devices, finds all of your plugin folders, and is pointing to the right place to save your projects.
- Regularly back up your projects. You can buy external hard drives for less than $100 with plenty of storage for years of project files. Consider cloud storage if you plan on booking clients.
- Get acquainted with the keyboard shortcuts for your DAW, especially if you don’t have a MIDI control surface. Knowing your keyboard shortcuts can save a ton of time and hassle.
Setting Up Your Audio Interface
Everything else that doesn’t plug into your computer will hook up to your audio interface. This includes your headphones, studio monitors, microphones and any outboard gear like preamps, and electric instruments. Here’s a few hints for success wth hooking up the audio interface:
- Both the front and the back of your audio interface should be accessible so you can easily plug and unplug cables. Set up your interface somewhere that you can get to it easily, and keep the area around your interface clear of obstructions and clutter. If you got a rackmount audio interface, consider getting a patch bay for easy switching of inputs and outputs.
- If your audio interface has a power port but didn’t come with an adapter, consider getting one. Keeping your interface powered up separately from USB power will help maintain the connection between the interface and your computer even if it goes to sleep.
- Most interfaces have a button or knob for input and output monitoring. If you can’t hear anything coming out of your mics, try changing your input monitoring, and if you can’t hear anything coming out of your headphones or monitors, check your output monitoring settings.
Setting Up Studio Monitors
Studio monitor speakers are great for hearing an accurate picture of your sound, but only if you set them up correctly. Check out these tips for placing and plugging in your studio monitors:
- Most studio monitors do not come with signal cables, so you’ll likely need a spare pair of XLR or TRS cables to hook them up. Most monitors will also need two separate power cords, so take that into account when placing your power strips.
- Your monitors and your head should create an equilateral triangle. If you weren’t great in geometry class, that means that the front of your speakers should face at an angle pointing towards your ears on both sides of your head, with an equal distance between the monitors and your ears. This allows the most direct path for the sound to reach your ears and ensures that you hear an accurate stereo picture with the flattest possible response curve.
- Monitors should be perpendicular to your listening position if possible. Raising your monitors to where the tweeters are at the exact same height as your ears is ideal.
- If neither #1 or #2 are possible with your current setup, consider buying studio monitor or speaker stands.
- Strongly consider purchasing monitor isolation pads to decouple them from your desk or stands. They are extremely cheap and well worth the cost to reduce false bass resonances.
- Don’t turn your monitors on until they’re hooked up, and don’t unhook them before they’re powered off. Hooking up signal cables while the amplifier is powered on can cause a “thump” that can damage your monitors.
Setting Up Microphones
Studio microphones are expensive, and some of them are easy to damage if you don’t handle them correctly. Here are some simple guidelines to help you hook them up correctly:
- Avoid bumping into your mics or knocking them over, and use shockmounts if they come equipped. The tiny diaphragms in studio condenser mics are sensitive to vibration and can break if mishandled or dropped.
- Turn the monitor volume down on your interface before you plug in any mics. Failure to do so can cause nasty feedback and possibly even damage your mics.
- Check the manuals for your mics, preamps, and DI boxes and make sure they need phantom power (+48V) before turning it on. It’s possible to damage some equipment if you use phantom incorrectly.
- Don’t turn on phantom power until after you’ve plugged in the microphone, and turn it off and wait 20-30 seconds before you unplug. Also, avoid leaving your phantom on for extended periods of time. The best practice is to turn phantom power on once before your start your session, capture your performances, then turn it off. This will extend the lifespan of your condensers considerably.
- If you have a pop filter for vocals, use it. If you don’t, try throwing a clean sock over your mic, then buy a pop filter when you can afford it. They are cheap and invaluable for keeping plosives and harsh sibilants out of your vocal tracks.
Hooking Up MIDI Devices
MIDI devices are optional, but for most home recording studios they are an essential part of the workflow. Here are a few tips that I’ve found for working with MIDI devices:
- When you plug in your MIDI devices and load up your DAW for the first time, go into the settings menu and make sure they are detected and set up for MIDI input and/or control messages.
- Some MIDI devices don’t like sharing a USB port with another. If you have two devices plugged in to a hub and one isn’t detected, consider moving other devices onto the hub and plugging the MIDI devices into your computer directly.
- If your devices aren’t detected by your DAW, download MIDI-Ox (PC) or MIDI Monitor (Mac) and use them to listen for MIDI messages. If none are detected, check your cables and connections, then look for device conflicts in your computer’s system settings.
- When setting up your desk, think about where your MIDI keyboard will sit and how that will affect your workflow. Some people aren’t comfortable using a MIDI keyboard if it’s positioned to one side and prefer the feel of it on their desk. (I am one of those people.)
- Make sure to leave room under your desk for your legs so you can get your ears in triangular position with your monitors.
- If you have MIDI footswitches, consider where those will be placed for easy access.
- If you have a control surface for mixing, consider where your ears will be when you use it.
Acoustically Treating and Calibrating Your Studio
Though the articles I listed above go into a lot of detail about this topic, here are a few quick hints that I have found useful:
- Keep in mind that your ears are about halfway up the walls in your room, so that’s where you want to start placing acoustic treatment if you only have a little to work with. Some treatment is absolutely better than none.
- If you can’t afford acoustic treatment, simple things like hanging curtains on the windows, opening the closet door to expose clothing, or hanging old towels or blankets on the walls can help reduce reflections for recording.
- After calibrating your studio monitor speakers, don’t just jump in and start making music, as tempting as that is. Take time to listen to some of your favorite songs that you’ve heard hundreds of times and see how they sound in your room. Listen for things you’ve never heard before, or that jump out in your newly calibrated space. Also, listen to music you have made before and try to hear the difference in a calibrated room.
How To Set Up Your Home Studio – The Bottom Line
Okay, that was a lot of information. Odds are, however, that you still have some questions. Well, if that’s the case, I have two great resources for you to help answer those questions. First, we have our very own Facebook group called Home Studio Enthusiasts. I personally answer questions in the group every single day, share funny music memes, and provide feedback on mixes to help people improve their craft. It’s a private group, so you’ll need to ask to join – basically, just agree not to spam and be nice to other people. You know, standard group stuff.
The second resource that you should definitely check out is the free Home Studio Accelerator course:
I help musicians create professional-sounding tracks at home without breaking the bank.

I’ve just put the finishing touches on the Home Studio Accelerator, a FREE 14-lesson course designed to teach musicians like you how to pick out the right gear and software and set up a professional recording environment at home.

